How to use an electric screwdriver: a step-by-step guide for home, DIY, and furniture
Quick answer: The short version of how to use an electric screwdriver is: choose the bit that matches the screw head exactly, set the direction to forward and the torque low to start, hold the tool straight, and start slowly. Stop as soon as the screw is flush with the surface, and do not keep the trigger pressed after the screw stops turning.
Learning how to use an electric screwdriver is simple once you know the basic steps. An electric screwdriver does the turning for you, so you can drive many screws quickly and with less strain on your wrist than a manual tool. The key is to choose the right bit, set the torque low to start, hold the tool straight, and stop when the screw is flush.
This guide walks you through the whole process, from charging the tool and fitting a bit to driving screws into wood, furniture, and plastic, and removing screws that are stuck. It also covers the mistakes that strip screw heads and how to avoid them. It is written for beginners and for home use, DIY, furniture assembly, and light repair work.
If you have not chosen a tool yet, start with our complete guide to the electric screwdriver, which explains the types, features, and what to look for before you buy.
What you need before you start
You do not need much to use an electric screwdriver well, but a little preparation makes the job easier and safer. Gather these items before you switch the tool on:
- an electric screwdriver, charged and ready to use
- the right screwdriver bits for the screws in your job
- the screws you plan to drive, sorted by size and type
- the material you are working on, held steady or clamped where needed
- eye protection, especially if you are working overhead or with old screws
- a manual screwdriver as a backup, for the final turn or for very delicate screws
Check the battery before you start. Most models have a charging indicator or a small light. If the battery is low, charge it first rather than starting a job and stopping halfway through. A tool that slows down in the middle of a screw can leave the screw half-driven and hard to finish cleanly.
Check the bit holder as well. It should hold the bit firmly, with no wobble. A loose bit slips, damages the screw head, and can scratch the surface around the screw.
How to use an electric screwdriver step by step
Follow these steps in order. They work for most home jobs, from assembling a bookshelf to fixing a loose hinge.
Step 1: Choose the right bit
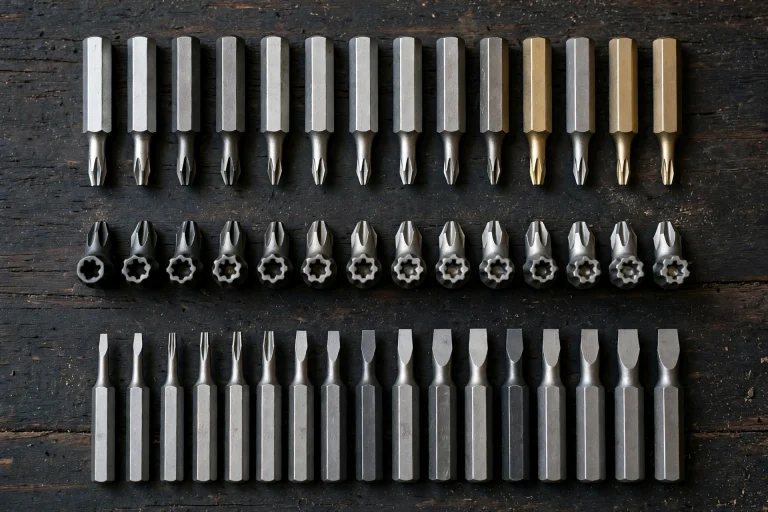
The bit must match the screw head exactly. A phillips screw needs a phillips bit, a flat head screw needs a flat head bit, and a torx screw needs a torx bit. The size matters just as much as the shape. A bit that is too small will spin inside the screw head. A bit that is too large will not sit in the screw at all.
Hold the bit up to the screw and check that it fills the head snugly, with no visible gap. If you are unsure, try the bit in the screw by hand first. It should feel firm, not loose. If you need help telling the types apart, our guide to the phillips screwdriver explains the common head shapes and sizes.
Keep a small set of bits nearby. Most jobs use only two or three sizes, but having the next size up and down saves time when a screw does not match the bit you first tried.
Step 2: Fit the bit into the tool
Push the bit into the bit holder until it clicks or sits fully in place. On most models, the holder is magnetic, so the bit stays put once it is seated. Give the bit a gentle pull to check that it is held firmly.
If your tool has a quick-release collar, pull the collar back, insert the bit, and release the collar. The bit should not move from side to side. If it wobbles, remove it, check for dirt or damage on the shank, and refit it.
Never use a bit with a chipped or worn tip. A damaged tip is one of the most common causes of stripped screws, and it can also damage the screw head beyond repair.
Step 3: Set the direction and torque
Set the direction switch to forward to drive a screw in, and to reverse to take a screw out. Make sure the switch is fully in one position, not halfway between forward and reverse.
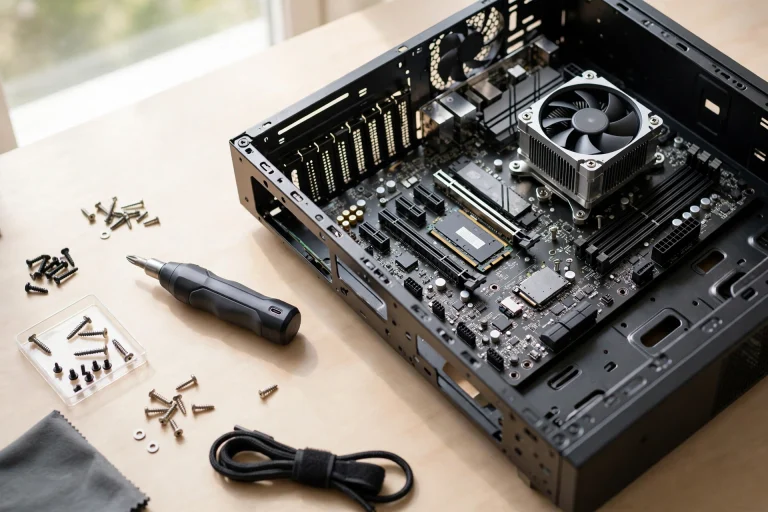
Set the torque to a low or medium setting to start. Torque controls how much turning force the tool applies before it stops or slips. A low setting is safer for small screws, soft wood, plastic, and electronics. A higher setting is only needed for larger screws or harder material. For electronics, a mini electric screwdriver with precision bits and the lowest torque setting is a safer choice.
If your tool has a numbered torque ring, start at a low number and increase it only if the screw stops before it is flush. If your tool has a simple low and high setting, use low for most home jobs and switch to high only when the screw needs more force.
Step 4: Line the tool up with the screw
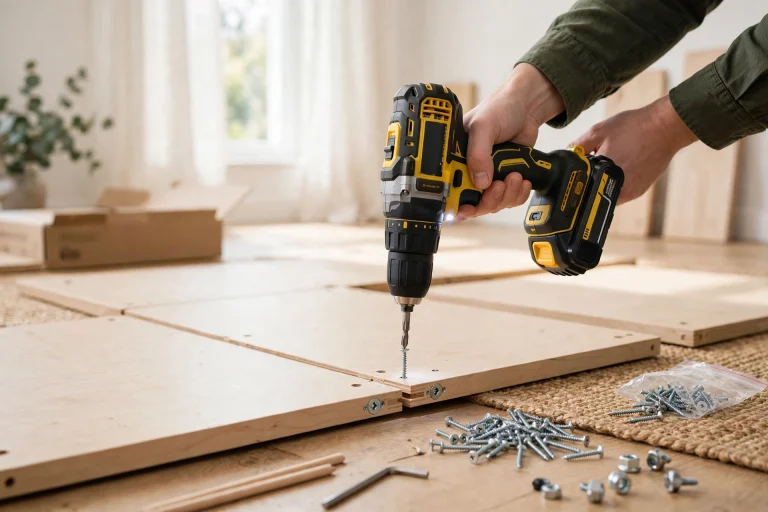
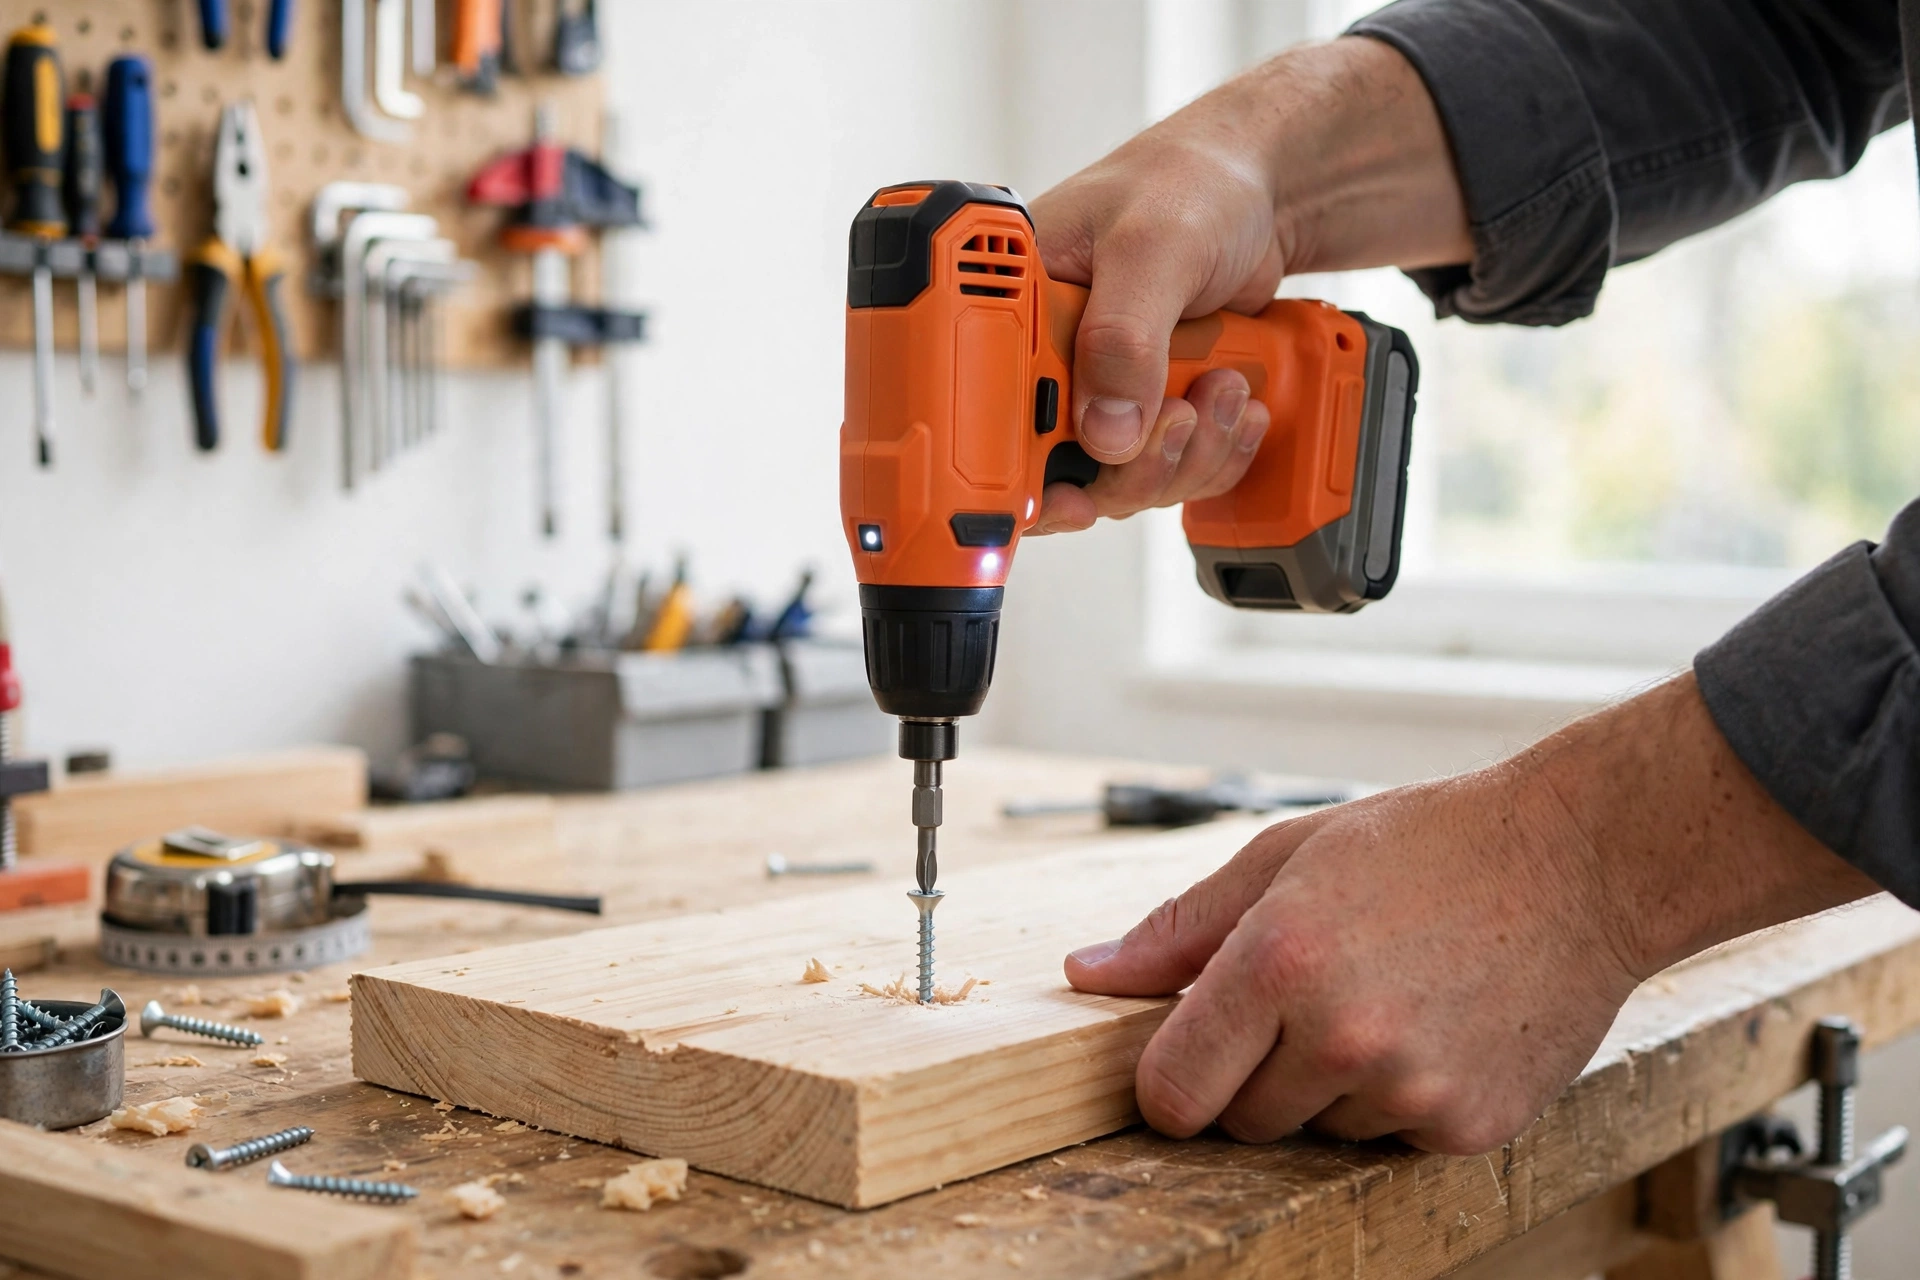
Place the screw where it needs to go, or hold it in the pilot hole if there is one. Put the bit into the screw head and hold the tool in a straight line with the screw. The tool, the bit, and the screw should all point in the same direction.
This step matters more than it looks. If the tool is tilted, the bit presses on one side of the screw head and can slip out, strip the head, or scratch the surface. Keep your wrist straight and your arm steady. If you are working at an awkward angle, move your body or the workpiece so you can hold the tool straight.
Press the bit gently into the screw. You need enough pressure to keep the bit seated, but not so much that you push the screw through the material or bend the bit.
Step 5: Start slowly, then speed up
Press the trigger gently to start at a slow speed. Let the bit sit in the screw head for a second before you increase the speed. Starting slowly helps the bit grip the screw and stops it from jumping out of the head.
Once the screw starts turning smoothly, you can increase the speed. Keep a steady pressure and let the motor do the work. Do not push hard on the tool. Extra force does not make the screw go in faster, and it increases the risk of stripping the head or cracking the material.
Watch the screw as it goes in. When it is almost flush with the surface, slow down again. This is where most damage happens, because a fast finish can overdrive the screw in a fraction of a second.
Step 6: Stop when the screw is flush
Stop as soon as the screw head is level with the surface, or just below it if the job calls for that. Do not keep the trigger pressed after the screw stops turning. If the tool has torque control, it will stop or slip when it reaches the set torque. If it does not, you need to stop by releasing the trigger yourself.
If the screw stops before it is flush, do not force it. Increase the torque by one step and try again, or check whether the screw is hitting something hard, such as a knot in wood or a metal plate. Forcing a screw that has stopped can strip the head and leave you with a screw you cannot turn in either direction.
For furniture and flat-pack assembly, finish the last quarter-turn by hand with a manual screwdriver if you want a precise, snug fit. This gives you more feel for when the screw is tight enough without over-tightening it.
Step 7: Remove a screw with reverse
To remove a screw, set the direction switch to reverse. Fit the bit into the screw head, hold the tool straight, and press the trigger slowly. The screw should start turning out. Keep the pressure steady until the screw is free, then lift it out by hand.
If a screw will not turn, stop and check it first. Look for paint over the head, rust, or damage. Clean the head with a brush or a cloth, and make sure the bit is the right size. A bit that is too small will spin and make the damage worse.
For a stuck screw, try a short burst in forward first, just enough to break it free, then switch to reverse. If that does not work, use a manual screwdriver for more control, or apply a small amount of penetrating oil and wait before trying again. Do not keep the trigger pressed on a screw that will not move. That is how heads get stripped.
Comparison table: how to use an electric screwdriver for common jobs
| Job | Best torque | Best speed | Bit to use | Watch out for |
|---|---|---|---|---|
| Furniture assembly | Low | Slow to medium | Phillips, as per the kit | Over-tightening in particleboard |
| Hanging shelves | Medium | Medium | Phillips or flat head | Splitting wood near the edge |
| Electronics repair | Lowest | Slow | Precision bits | Stripping tiny screws |
| Wood screws | Low to medium | Medium | As per the screw head | Splitting, wandering screws |
| Plastic panels | Lowest | Slow | As per the screw head | Cracking from over-tightening |
| Removing old screws | Low to medium | Slow | Exact fit, undamaged bit | Paint, rust, stripped heads |
This table is a general guide. Always check the tool and screw maker guidance for your specific job.
Frequently asked questions
How do I use an electric screwdriver for the first time?
Charge the battery, fit the right bit for your screw, set the direction to forward and the torque to low, hold the tool straight, and start slowly. Practise on a scrap piece of wood first, so you can feel how the tool stops and how much pressure you need before you work on the real job.
What torque setting should I use?
Start low and increase it only if the screw stops before it is flush. Use the lowest setting for electronics, plastic, and small screws, a low to medium setting for furniture and general home jobs, and a higher setting only for larger screws in hard material.
Can I use an electric screwdriver to remove screws?
Yes. Set the direction switch to reverse, fit the right bit, hold the tool straight, and press the trigger slowly. If the screw will not turn, check for paint or rust, and do not force it, or you may strip the head.
Why does my electric screwdriver keep stripping screws?
The most common causes are the wrong bit size, a worn bit, holding the tool at an angle, or starting at full speed. Check the bit fit, replace worn bits, hold the tool straight, and start slowly.
Can I use an electric screwdriver instead of a drill?
For driving screws, yes, in most home jobs. For drilling holes, no. An electric screwdriver is made for driving screws with control, while a drill is made for drilling holes and driving larger screws with more power. For a full comparison, see our guide on electric screwdriver vs drill.
Conclusion
Learning how to use an electric screwdriver comes down to a few habits: choose the right bit, set the torque low, hold the tool straight, start slowly, and stop when the screw is flush. With those habits, you can assemble furniture, fix hinges, hang shelves, and do light repairs quickly and with less strain on your wrist.
Practise on scrap material first if you are new to the tool, and keep a small set of good bits nearby. The right bit and the right torque setting matter more than the price of the tool. Once you have the basics, the tool becomes one of the most useful things in a home toolkit.
For help choosing the tool itself, read our guide to the electric screwdriver, and for the bits that go with it, see our guide to electric screwdriver bits.