
Electric screwdriver for electronics repair: how to choose and use one safely
Quick answer: To use an electric screwdriver for electronics repair, choose a small, low-torque model with precision bits that match your device’s screws, and work on the lowest torque setting, starting slowly and holding the tool straight. Turn the device off and unplug it first, remove screws one at a time in order, and switch to a manual precision screwdriver for the smallest screws inside. Tighten screws gently until snug and do not over-tighten or force a stuck screw.
An electric screwdriver for electronics repair is a small, low-torque tool made for tiny screws in phones, laptops, tablets, game consoles, and other devices. A standard home screwdriver is too big and too strong for this work. It can strip a small screw, crack a plastic case, or damage a circuit board in a second. The right tool for electronics is smaller, lighter, and easier to control, with precision bits that fit the tiny screws used in modern devices.
This guide explains how to choose an electric screwdriver for electronics repair, which bits and torque settings to use, and how to work on a device safely, step by step. It is written for home repair, hobbyists, and anyone fixing a phone or laptop for the first time. It does not assume you know anything about electronics, and it does not ask you to open a device you are not comfortable opening.
If you are new to small screwdrivers, start with our guide on the mini electric screwdriver, which explains what a mini model is and when it is the right choice. A mini model is often the best starting point for electronics, and this guide builds on that idea.
Why electronics need a different screwdriver
Electronics screws are small, shallow, and easy to damage. A phone may have screws less than 2 mm across, with heads that strip if the bit is even slightly wrong. A laptop may mix several screw types in one device, so you need more than one bit. A game console may hide screws under stickers or rubber feet, and a wrong move can crack the case.
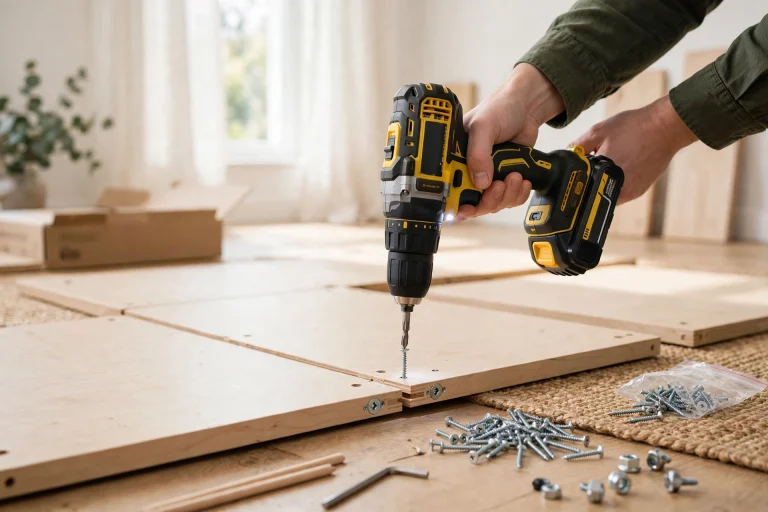
A standard electric screwdriver is made for furniture and home DIY, with more power than electronics need. An electric screwdriver for electronics repair is made for control, not power, with low torque and precision bits that protect the device.
What to look for in an electronics screwdriver
Choosing the right tool is mostly about size, torque, and bits. Use this checklist before you buy.
Low torque and variable speed
Low torque is the most important feature. A high torque setting can strip a small screw or crack a plastic thread in a second. Look for a model with adjustable torque and a low minimum setting, plus variable speed so you can start slowly. If the tool has only one speed and one torque level, it is probably not made for electronics.
Precision bits
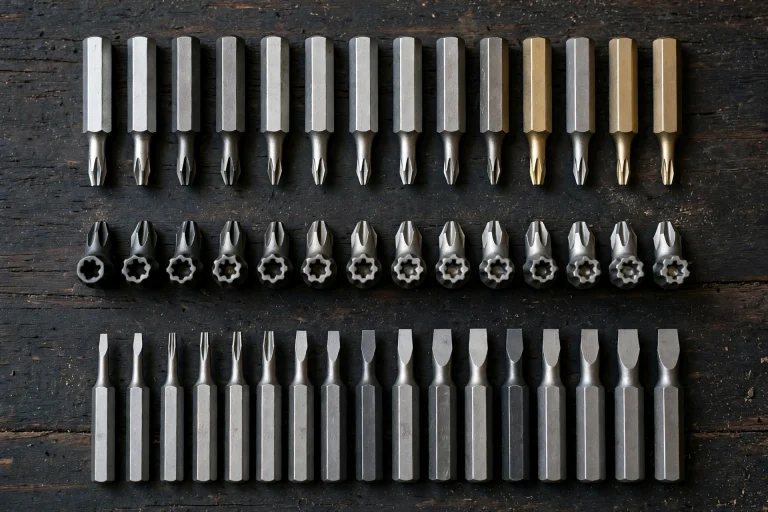
The tool should come with a set of small precision bits, or accept standard precision bits. Common types for electronics include phillips PH000 and PH00, flat head in small sizes, torx T4, T5, and T6, pentalobe for some phones, and tri-point for some devices. Our guide on the ifixit tri-point y1 screwdriver explains one of these specialist bits in detail, and why the right bit matters more than the tool itself.
Check what bits are included before you buy. A set with only phillips bits will not help if your device uses torx or pentalobe screws. A set with many bits is useful, but only if the bits are made well. Cheap bits wear quickly and slip in the screw head, which is how screws get stripped.
Small grip and good light
You will hold the tool close to the device, often for a long time. A small, light grip is easier to control than a large handle, and a built-in light helps you see the screw head inside a dark case. A magnetic bit holder is also useful, because it holds the tiny screw on the bit while you lift it out. Without a magnetic holder, a small screw is easy to drop and lose inside the device.
Which bits do you need?
The bits you need depend on the device you are repairing. Phones, laptops, and consoles use different screws, and even two phones from the same brand can use different bits. Check a repair guide for your exact device model before you start, and make a list of the bits you need.
As a general guide, these bits cover most home electronics repairs:
- Phillips PH000 and PH00: the most common small phillips sizes, used in phones, laptops, and many other devices.
- Torx T4, T5, and T6: star-shaped bits used in laptops, consoles, and some phones.
- Flat head 1.5 mm and 2.0 mm: small flat bits used in glasses, watches, and some electronics.
- Pentalobe P2 and P5: five-point bits used in some phones and laptops.
- Tri-point Y1: a three-point bit used in some phones and handheld consoles.
A workpro 10-piece precision screwdriver set is one example of a small precision set with several bits in one case.
How to use an electric screwdriver for electronics repair
Work slowly, and follow the same steps each time. Rushing is how screws get stripped and cases get cracked.
1. Prepare the workspace
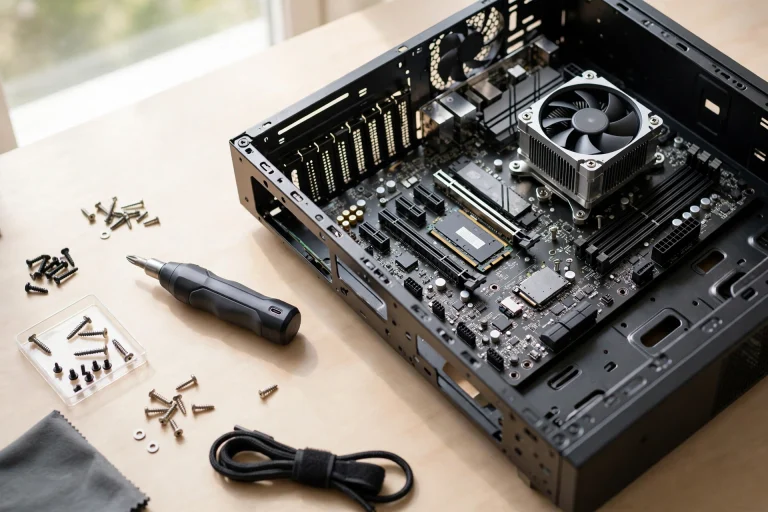
Work on a clean, dry table in good light. Put a white towel or a magnetic mat under the device, so small screws are easy to see and do not roll away. Take a photo of the device before you open it, so you know where each screw goes. Lay out the bits you need, and keep a small tray or a piece of tape ready for the screws you remove.
Turn the device off completely, and unplug it from the charger. Remove the battery if you can do so safely, and check the maker’s guide for your device. If the device has a glued battery, do not try to remove it unless you know how. Work with dry hands, and touch a metal object to discharge static before you start.
2. Find and remove the screws
Find all the screws before you start removing them. Some are hidden under stickers, rubber feet, or a SIM tray, so check a repair guide for your exact model. Remove the screws one at a time, and put each one in the tray in the order you removed it. Screws in one device are often different lengths, and putting a long screw in a short hole can damage the board underneath.
Use the lowest torque setting, and start slowly. Let the bit sit in the screw head before you press the trigger, and hold the tool straight. If a screw will not turn, stop. Do not force it. Check that you have the right bit, and try turning it a little by hand first. A screw that is stuck may be glued, rusted, or cross-threaded, and forcing it will strip the head.
3. Open the case carefully
Once the screws are out, open the case gently. Do not pull it apart, because cables inside may still be connected. Use a plastic opening tool, not a metal screwdriver, to separate the case. Work around the edge slowly, and stop if you feel resistance. If the case will not open, check for a screw you missed, rather than forcing it.
Keep the screws and the case parts together, and take photos as you go. That way you can put the device back together in the right order, with the right screws in the right holes.
4. Work inside the device
Once the case is open, work with the tool on its lowest setting, or switch to a manual precision screwdriver for the smallest screws inside. An electric screwdriver is useful for removing the case screws, but the screws inside a phone or laptop are often too small and too delicate for any powered tool. Use your hands and a manual driver for those, and keep the electric tool for the larger screws only.
Do not touch the circuit board with the metal bit, and do not rest the tool on the board. Keep the battery and the charger away from the open device, and do not use the tool near a battery that is swollen or damaged. If you need to disconnect a battery cable, use a plastic tool, not a screwdriver.
5. Put the device back together
Put the device back together in reverse order, using your photos as a guide. Fit each screw in the right hole, and tighten it gently by hand first, then with the tool on its lowest torque setting. Stop when the screw is snug. Do not over-tighten, because that can strip the thread or crack the case. Test the device before you fit the last screws, so you do not have to open it again if something is wrong.
Comparison table: standard vs mini vs precision electric screwdriver
| Feature | Standard electric screwdriver | Mini electric screwdriver | Precision electric screwdriver |
|---|---|---|---|
| Best for | Furniture, home DIY | Small repairs, glasses, phones | Phones, laptops, consoles |
| Torque | Medium to high | Low | Very low, adjustable |
| Bit size | Standard bits | Small precision bits | Very small precision bits |
| Grip | Large handle | Small handle | Slim pen-style handle |
| Battery | Larger, longer life | Smaller, shorter life | Small, USB charged |
| Risk to electronics | High if used wrong | Low with care | Lowest with care |
This table is a general guide. Individual models vary, so always check the listing for the model you are considering, and check what bits are included before you buy.
Frequently asked questions
Can I use a normal electric screwdriver for electronics repair?
You can, but it is not the best choice. A normal model is too big and too strong for most device screws, and it can strip them easily. A mini or precision model with low torque and small bits is safer and easier to control.
What is the best electric screwdriver for phone repair?
The best tool is a small precision model with low torque, variable speed, and a set of bits that includes phillips PH000, torx T5, and pentalobe P2. Check a repair guide for your exact phone model, because the bits you need depend on the phone.
Do I need a special bit for iPhone screws?
Some phones use pentalobe or tri-point screws, which need a special bit. Check the repair guide for your exact model before you buy bits, and do not try to use a phillips bit in a pentalobe screw, because it will slip and damage the head.
Can an electric screwdriver damage a circuit board?
Yes, if you use too much torque, the wrong bit, or you touch the board with the metal bit. Use the lowest torque setting, hold the tool straight, and switch to a manual driver for the smallest screws inside the device.
Should I use a magnetic screwdriver for electronics?
A magnetic bit holder is useful, because it holds a tiny screw on the bit while you lift it out. A weak magnet is fine for most repairs. Do not use a strong magnet near a hard drive or a magnetic sensor, and check the repair guide for your device.
Is it safe to repair my own phone or laptop?
It can be, if you follow a repair guide for your exact model, work slowly, and stop if you are unsure. Turn the device off, unplug it, and do not work on a swollen battery. If the device is still under warranty, check the warranty first, because opening it may remove the warranty.
Conclusion
An electric screwdriver for electronics repair is a practical tool for phones, laptops, tablets, and consoles, but only if it is the right tool for the job. Choose a small, low-torque model with precision bits, variable speed, and a comfortable grip, and check that the bits match the screws in your device before you start.
Work slowly, keep the screws in order, use the lowest torque setting, and stop when the screw is snug. Do not force a stuck screw, do not work on a live device, and switch to a manual driver for the smallest screws inside. Start with those habits, check a repair guide for your exact device model, and your electric screwdriver should help you fix the device, not damage it. A good screwdriver set with precision bits, kept in a case where you can find each bit, is a useful starting point for any home electronics repair kit.