Electric screwdriver torque settings: how to set torque for every job
Quick answer: Start on a low torque setting and increase in small steps until the screw sits flush. Use the lowest setting for electronics and plastic, low to medium for furniture, and medium for general wood screws. Stop as soon as the clutch clicks.
If you have ever driven a screw too far, cracked a piece of plastic, or watched a screw head spin uselessly in stripped wood, the problem was probably not your hand. It was the torque. Getting your electric screwdriver torque settings right is the difference between a screw that sits flush and secure and one that damages the material or works loose a week later.
Torque is simply turning force. A higher setting delivers more turning force before the tool stops, while a lower setting stops earlier and protects delicate work. Most electric screwdrivers give you that control through a numbered clutch ring.
What electric screwdriver torque settings mean
Torque is the rotational force that turns a screw into a material. If the force is too low, the screw stops before it is fully seated. If it is too high, the screw keeps turning after it is seated, which can strip the threads, split the material, crack plastic, or round off the screw head.
Your electric screwdriver torque settings control the point at which the tool stops applying that force. On a clutch model, the tool slips, clicks, or stops driving once the resistance reaches the level you selected.
How a numbered clutch ring works
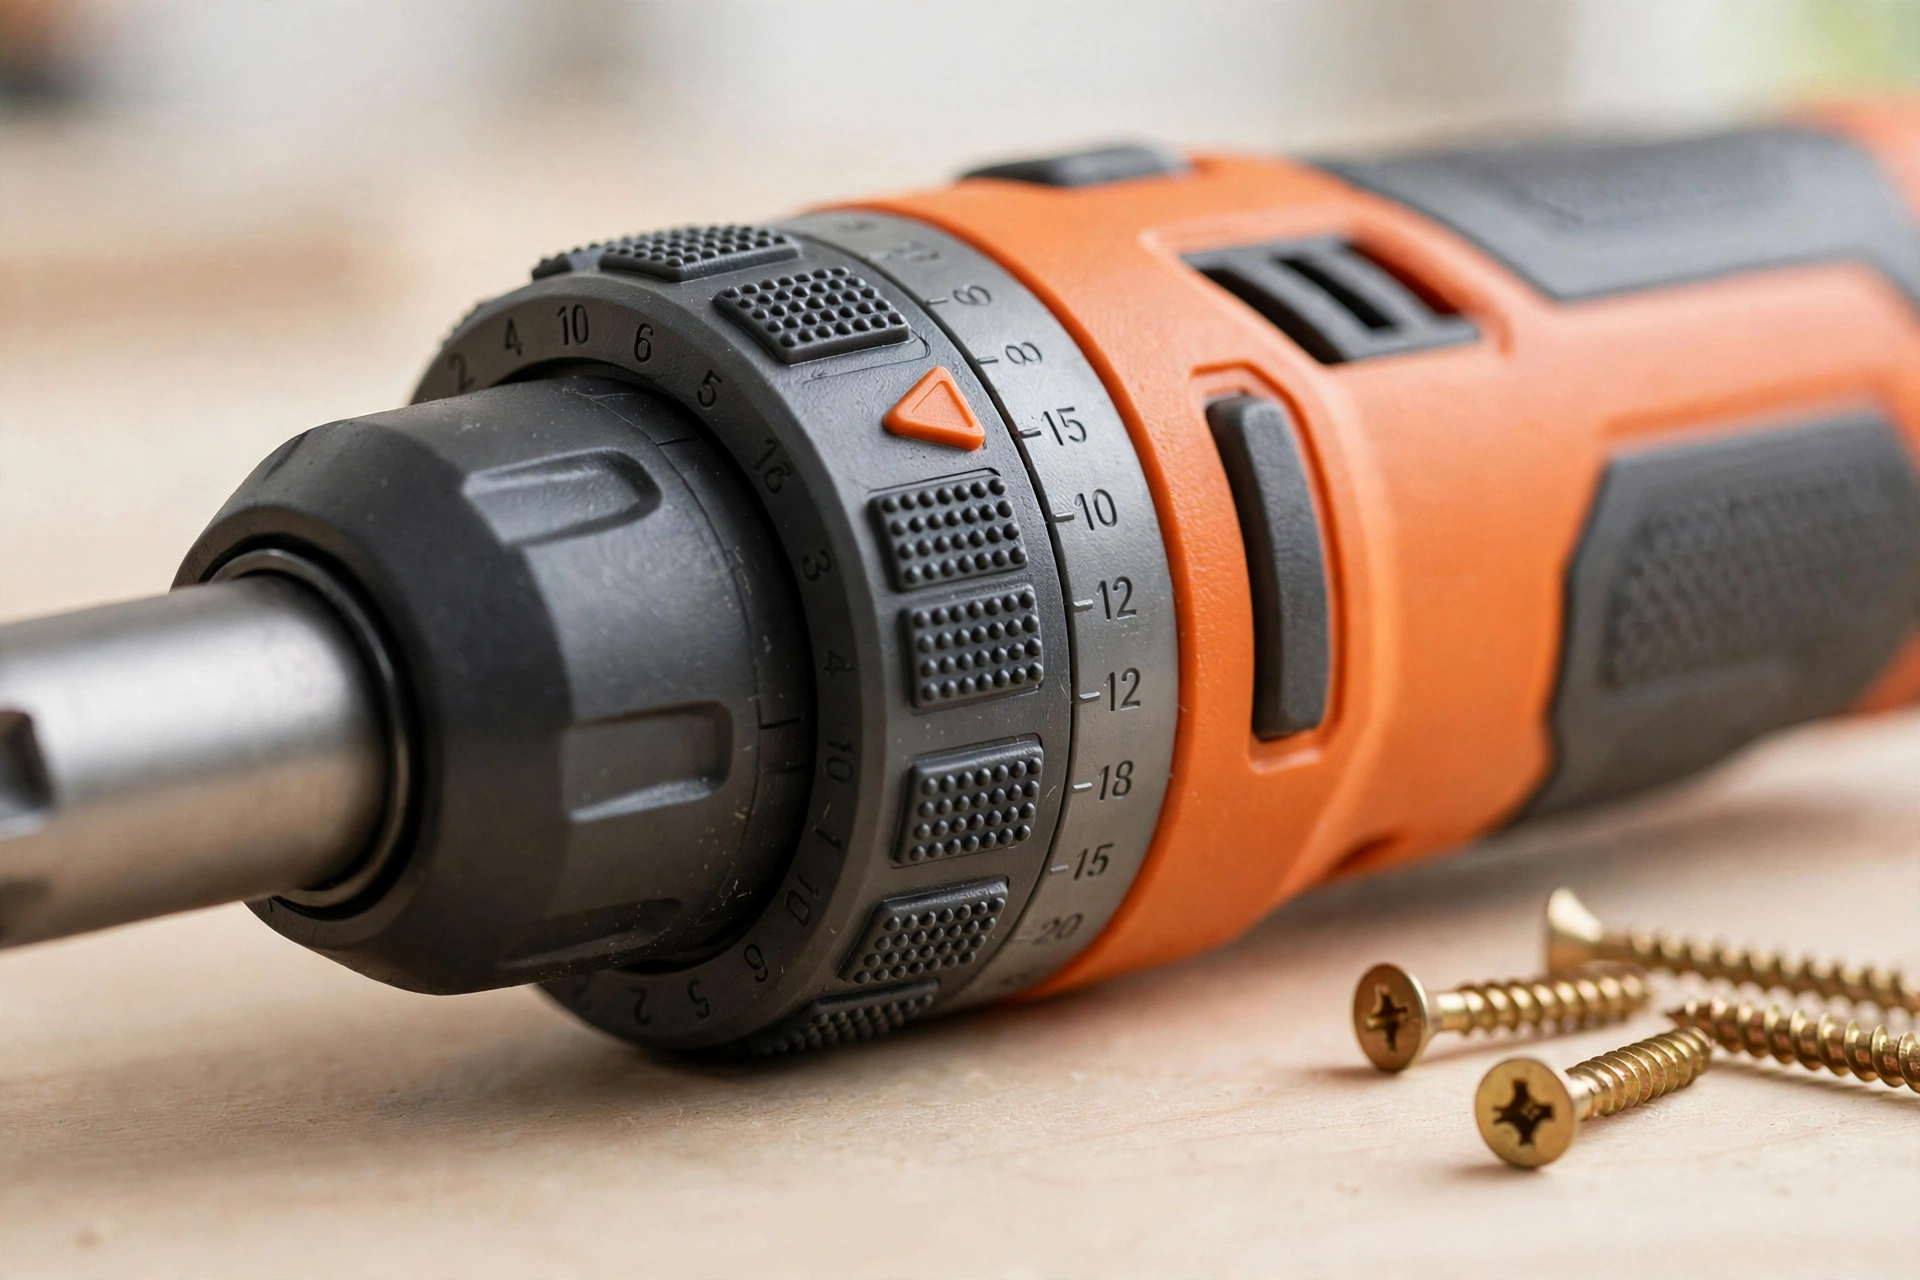
Most electric screwdrivers with adjustable torque have a ring around the front of the tool, just behind the chuck or bit holder. The ring is marked with numbers, usually starting at 1 and going up, and often has a drill symbol at the end. Turning the ring to a low number selects low torque, and turning it to a higher number selects higher torque.
Inside the tool, the clutch slips when the resistance reaches the selected level. At a low setting it slips easily, so the bit stops turning even though the motor is still running. At a high setting it holds longer, so more force reaches the screw. When the clutch slips, you will usually hear a clicking sound. That sound is your signal to stop, because the tool has reached the torque limit you chose.
The drill symbol, where fitted, usually bypasses the clutch or sets it to maximum. That position is for drilling, not for driving screws, because the tool will keep turning until you release the trigger. For screwdriving, always choose a numbered setting. To change the setting, rotate the ring until the number you want lines up with the marker on the body, with the tool switched off.
Some compact models, including many mini electric screwdriver designs, use a low, medium and high switch instead of a full ring, but the principle is the same.
Low, medium and high torque settings explained
Manufacturers number their clutch rings differently, so there is no universal chart that applies to every model. One tool may have 10 settings, another may have 20, and a third may have only three. What matters is the relative position on your own tool: low, medium and high.
| Setting range | What it is for | Typical materials and jobs |
|---|---|---|
| Lowest to low | Delicate fastening where damage is easy | Electronics, small plastic parts, thin panels |
| Low to medium | Light assembly and general household screws | Flat-pack furniture, MDF, chipboard, small wood screws |
| Medium | General screwdriving into wood and firm materials | Wood screws, brackets, hinges, shelves |
| Medium to high | Firm fastening into harder materials | Hardwood, thicker screws, metal brackets, long screws |
| High or drill position | Maximum force or drilling | Drilling pilot holes, long screws into hardwood |
Use this table as a starting point: the right setting also depends on screw size and length, pilot holes, and how hard the material is, so start low and work up.
Recommended electric screwdriver torque settings by job
Furniture assembly: use low to medium. Most furniture panels are chipboard, MDF, or laminated board, which can split, bulge, or strip easily if a screw is overdriven. For electric screwdriver for furniture assembly, start low to medium, drive slowly, and listen for the clutch to click. If the screw stops before it is seated, move the ring up by one or two numbers.
Electronics and small devices: use the lowest setting. Screws in laptops, consoles, small appliances and circuit boards are tiny, the threads are fine, and the surrounding plastic or metal is thin. A single overdriven screw can crack a casing or strip a threaded insert. For electric screwdriver for electronics repair, use the lowest setting that will turn the screw at all. Drive slowly, keep the bit straight, and stop as soon as the screw is seated.
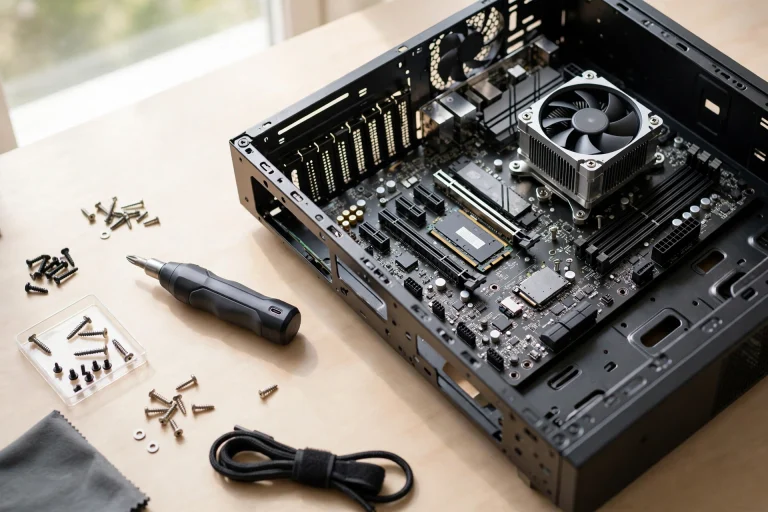
PC building: use the lowest setting. Computer cases, motherboards and drives use small screws in thin metal and plastic. Over-tightening a motherboard screw can bend the board or crack a standoff, while over-tightening a case screw can strip the thread in the chassis. For electric screwdriver for pc building, start at the bottom of the range and increase by one step only if the screw will not seat.
Wood screws: use medium, adjusted for the wood. Softwood such as pine accepts screws easily, while hardwood such as oak or maple resists them and needs more torque. Long screws need more torque than short screws, and screws driven without a pilot hole need more than screws driven into a pre-drilled hole. For general wood screws, a medium setting is a good starting point. If the head stands proud, increase the setting by one or two numbers; if it sinks or the wood splits, decrease it and consider a pilot hole first.
Plastic panels: use low. Screws in plastic housings, toys and electrical fittings often thread directly into the plastic itself, with no metal insert to take the load. Once that plastic thread is stripped, the screw will not hold again. Use a low setting, drive slowly, and stop as soon as you feel resistance increase. The screw should sit flush without the plastic bulging or whitening around it.
Metal: use medium to high, with care. Driving screws into metal, or into metal brackets fixed to wood, usually needs more torque than wood or plastic. Self-tapping screws into thin sheet metal and screws into pre-drilled metal often need a medium to high setting. Even here, start in the middle of the range and increase gradually, keeping the tool square to the surface and letting the clutch do the work.
How to test torque on scrap material first
The most useful habit for getting electric screwdriver torque settings right is testing on scrap. A spare offcut of the same material can tell you in seconds whether your setting is right.
- Set the clutch to a low number, well below what you think you will need.
- Choose the correct bit. A worn or wrong-sized bit will slip and give a false result. The right electric screwdriver bits make a visible difference to how cleanly a screw drives.
- Drive a test screw into the scrap at a slow, steady speed.
- Check the result. Is the head flush, still proud, or sunk too deep? Has the material split or cracked?
- If the screw stopped early, increase the setting by one or two numbers and test again in a fresh spot. If it sank too deep, decrease the setting and test again.
- Once you find the lowest setting that seats the screw cleanly, use it for the real job.
This takes less than a minute and saves far more time than repairing a stripped hole or replacing a cracked panel. Test again if the material or screw size changes.
Signs your torque is too high or too low
Too much torque usually announces itself clearly, but by then the damage may already be done. Watch for the screw head sinking below the surface, the material splitting, cracking or bulging, plastic turning white around the hole, the screw spinning after it is seated without tightening further, the screw head rounding off, or the screw snapping. Any of these means the setting is too high, so stop and turn the clutch down. If a hole is already stripped, more torque will not fix it: repair the hole, use a larger screw, use a wall plug or insert, or move the fixing to a fresh spot.
Too little torque is less damaging and much easier to fix. The screw stops before the head is flush, the clutch clicks while the screw is still proud, the joint feels wobbly, or the screw can be turned further easily by hand. Increase the setting by one or two numbers and try again. Do not hold the trigger down and push hard to force the screw past the clutch, because that can wear the clutch and damage the bit or the screw head.
How to avoid stripping screws
Most stripped screws come from torque that is too high, a bit that does not fit, or a tool held at an angle. Start low and work up, because it is easy to add torque and very hard to undo the damage from too much of it. Use the correct bit and check that it sits fully in the screw head. A worn bit, or a Phillips bit in a Pozidriv screw, will slip under load and chew up the head.
Keep the tool straight and in line with the screw, apply steady downward pressure so the bit stays engaged, and drive at a slow, controlled speed for the final part of the drive. Use a pilot hole when the material is hard, the screw is long, or you are driving near the edge of a board: it reduces the force needed, so you can use a lower setting and still seat the screw cleanly. Stop when the clutch clicks, and check your screws and bits before you start. For a fuller walkthrough of safe driving technique, see the guide to how to use an electric screwdriver.
Frequently asked questions
What torque setting should I use for furniture assembly?
Use a low to medium setting for most flat-pack furniture. Chipboard and MDF strip and split easily, so start low and increase by one or two numbers only if the screw stops before it is seated.
What is the lowest torque setting for electronics?
Use the lowest setting your tool offers for electronics and small devices. Drive slowly, keep the bit straight, and increase by one step only if the clutch clicks before the screw is seated.
Why does my electric screwdriver keep stripping screws?
Stripping usually happens because the torque is too high, the bit does not fit the screw head, the tool is held at an angle, or there is not enough downward pressure. Lower the torque, check the bit fit, and keep the tool straight.
Should I use the drill setting to drive screws?
No. The drill position usually bypasses the clutch or sets it to maximum, so the tool keeps turning until you release the trigger. Choose a numbered setting for screws and save the drill position for drilling holes.
How do I know if my torque is too high or too low?
Torque is too high if the screw head sinks below the surface, the material splits or cracks, or the screw keeps spinning without tightening. Torque is too low if the screw stops before it is flush or the joint feels loose.
Can I use the same torque setting for wood and plastic?
No. Wood usually needs a medium setting, while plastic needs a low setting because it cracks and strips easily. Reset the clutch whenever the material changes.
Conclusion
Getting your electric screwdriver torque settings right is a small skill with a large payoff. The clutch ring controls how much turning force reaches each screw, and that control protects delicate materials, keeps joints firm, and stops screws from stripping. Low settings suit electronics, plastic and light assembly. Medium settings suit general wood screws and household DIY. Higher settings suit hardwood, long screws and metal, always with a test first.
The best habit is also the simplest: start low, test on scrap, increase in small steps, and stop when the clutch clicks. If you are unsure, start at the lowest setting that might work and build up from there.