Electric screwdriver for woodworking: how to choose and use one in the workshop
Quick answer: Choose a tool with low, adjustable torque and variable speed, and use a gentle start. Drill pilot holes in hardwood and MDF and near edges, start on the lowest torque, and stop as soon as the screw sits flush so the wood does not split.
An electric screwdriver for woodworking can turn a slow job into a quick one, but wood is not a forgiving material. Drive a screw too fast, too far, or at the wrong angle, and the timber splits, the screw head strips, or the joint never holds properly again. Used the right way, a small electric screwdriver drives dozens of screws quickly and evenly.
This guide explains how to choose an electric screwdriver for woodworking, how to set it up for different woods, and how to drive screws into softwood, hardwood, plywood, and MDF without splitting the timber. It is written for home woodworkers and hobbyists building shelves, boxes, benches, or small furniture in a workshop.
If you are new to the tool itself, start with our guide on how to use an electric screwdriver, which covers the basic steps, torque settings, and safety habits. Once you know the basics, the habits in this guide will help you get clean, strong joints every time.
Why woodworking needs a different approach
Softwood, such as pine and spruce, is easy to drive screws into, but it splits easily near the edge and the screws can pull out if the hole is too large. Hardwood, such as oak, maple, and walnut, holds screws very well, but it is dense, and a screw driven without a pilot hole can split the board or snap the screw. Plywood is strong and stable, but its layers can separate if a screw is over-tightened.
An electric screwdriver for woodworking has to handle all of these, and the key is control, not power. A tool with low, adjustable torque, variable speed, and a gentle start lets you drive a screw slowly, feel when it is seated, and stop before the wood splits.
What to look for in an electric screwdriver for woodworking
Low, adjustable torque is the most important feature. The tool should have a low torque setting with several small steps, so you can stop the screw before it splits the wood or strips the hole. Start at the lowest setting and increase it only if a screw stops before it is flush. For hardwood, you may need a medium setting, but only after drilling a pilot hole.
Variable speed and a gentle start matter just as much. The tool should start slowly when you press the trigger, so the bit can seat in the screw head before it speeds up. A tool that jumps to full speed at once is more likely to slip, strip the screw head, or drive the screw at an angle, and a sudden burst of speed near the edge of a board can split the wood.
A comfortable grip and light weight help too, because you will hold the tool for a long while on a woodworking project. Wood screws usually use phillips, pozidriv, torx, or square drive heads, so make sure your tool accepts bits in the sizes you need, usually PH2 and PZ2, and torx bits for decking screws. The bits should fit the screw heads exactly, with no wobble. For more on bit types, see our guide to electric screwdriver bits.
Wood types and what they mean for screws
Softwood, such as pine, spruce, and cedar, is light and easy to work. Screws go in easily, often without a pilot hole, but the wood splits easily near the edge and the end grain. Keep screws at least 25 mm from the end of a board and 15 mm from the edge.
Hardwood, such as oak, maple, walnut, and beech, is dense and strong. It holds screws very well, but it splits if you drive a screw without a pilot hole, and a screw can snap if it is forced. Always drill a pilot hole in hardwood, use a medium torque setting, drive the screw slowly, and stop as soon as it is snug.
Plywood is made from thin layers of wood glued together, and it is strong and stable. Screws hold well in the face of the plywood, but poorly in the edge, where the layers can separate. Use screws with a coarse thread, do not over-tighten, and drill a pilot hole near the edge.
MDF, or medium-density fibreboard, is smooth and easy to cut, but it splits badly near the edge and does not hold a screw well if the hole is stripped. Always drill a pilot hole in MDF, keep screws well away from the edge, and use screws made for MDF, which have a coarse thread and a sharp point. Never over-tighten a screw in MDF.
Pilot holes: when to drill them and how
A pilot hole is a small hole drilled before you drive the screw, and it is the single most useful habit in woodworking. A pilot hole stops the wood splitting, makes the screw go in straight, and reduces the force the tool needs.
Drill a pilot hole when you are working in hardwood, when the screw is near the edge or the end of a board, when you are using MDF or plywood near the edge, and when you are driving a long screw. The pilot hole should be slightly smaller than the screw’s core, which is the solid shaft inside the thread. Drill it straight, to the full depth of the screw, and clear the dust out before you drive the screw. For screws that need to sit flush, drill a second, wider hole at the top, called a countersink, so the head sits level with the surface.
How to use an electric screwdriver for woodworking step by step
Follow these steps in order, and test on a scrap piece first.
Step 1: Mark and clamp the work
Mark the screw positions with a pencil, and check the marks twice before you drill. Clamp the pieces together, or hold them firmly in a vice, so they cannot move while you drive the screw.
Step 2: Drill pilot holes where needed
Drill pilot holes in hardwood, near edges, and in MDF, as described above. Drill them straight, and to the right depth.
Step 3: Choose the right screw and bit
Choose a screw long enough to go through the first piece and well into the second, usually about two-thirds of the way into the second piece, but not so long that it pokes through. Choose a bit that matches the screw head exactly, and check that it fits snugly, with no wobble. A bit that is too small will strip the head. For more on choosing screws and bits, see our guide to the electric screwdriver.
Step 4: Set the torque low and start slowly
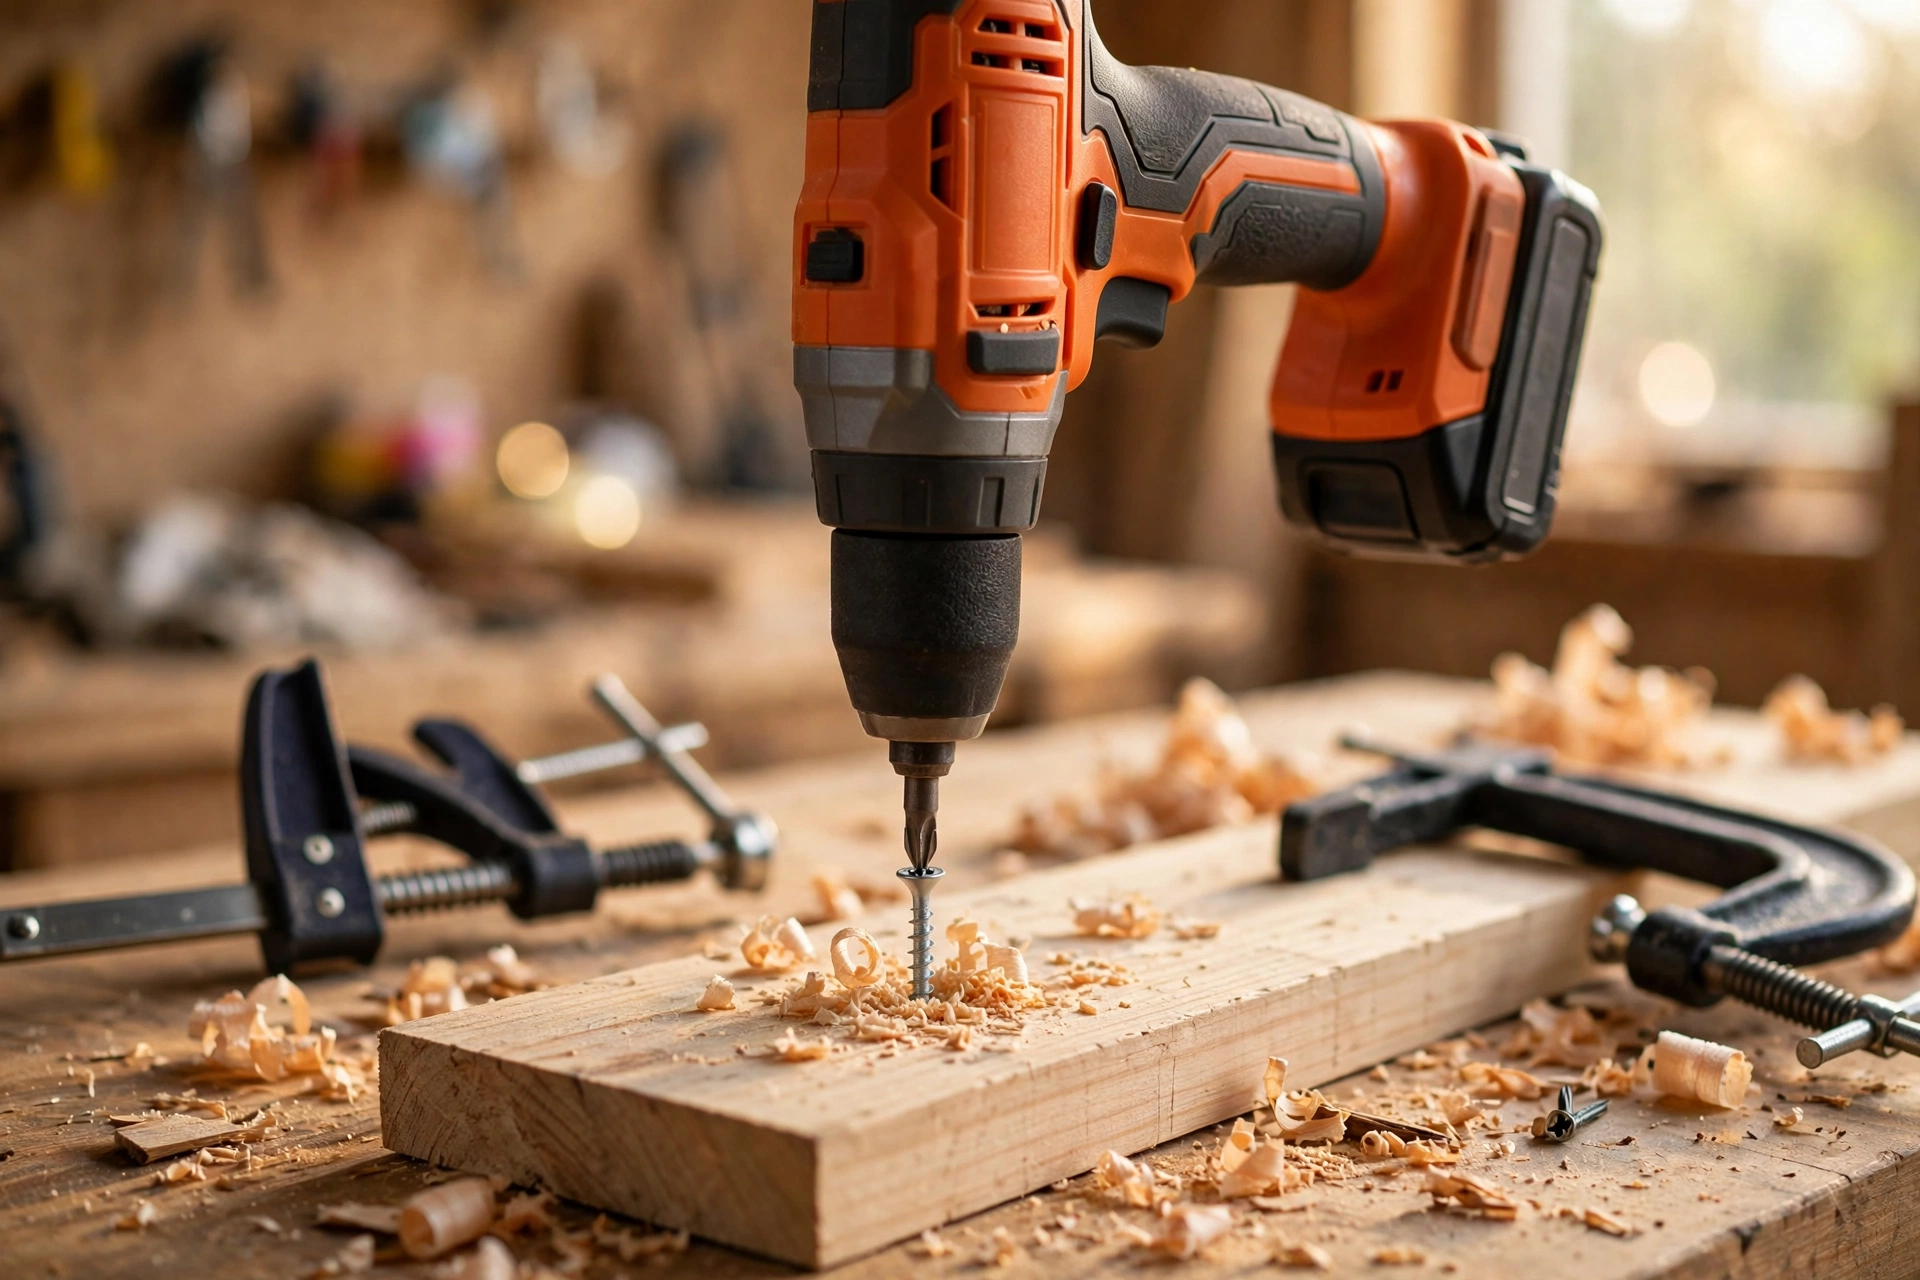
Set the torque to the lowest setting, and set the direction to forward. Hold the tool straight, in line with the screw, and press the trigger gently to start slowly. Let the bit seat in the screw head before you increase the speed. Keep a steady pressure, and let the motor do the work.
Step 5: Drive the screw until it is flush, then stop
Watch the screw as it goes in. When the head is almost flush with the surface, slow down again. Stop as soon as the screw head is level with the surface, or just below it if the job calls for a countersunk head. If the screw stops before it is flush, do not force it. Increase the torque by one step and try again.
Step 6: Check the joint and finish by hand if needed
Check that the joint is tight and the pieces are square. For the final turn on an important joint, finish by hand with a manual screwdriver. This gives you more feel for when the screw is tight enough without over-tightening it.
Common mistakes and how to avoid them
The most common mistake is driving a screw too close to the edge or the end of a board. Wood splits along the grain, and a screw near the edge has little wood to hold it. Keep screws away from the edge, drill a pilot hole, and use a low torque setting.
The second mistake is using the wrong bit. A phillips bit in a pozidriv screw, or a bit that is too small, will slip and strip the head. Match the bit exactly, and replace bits that are worn or chipped. A damaged bit is one of the most common causes of stripped screws.
The third mistake is over-tightening. A screw that is driven too far will strip the hole, split the wood, or pull the head through the surface. Stop as soon as the screw is snug.
The fourth mistake is skipping the pilot hole in hardwood or MDF. A screw driven into hardwood without a pilot hole can split the board or snap the screw, and a screw in MDF without a pilot hole can strip the hole in a single turn. Drill the pilot hole. It takes seconds, and it saves the project.
Comparison table: electric screwdriver vs drill vs manual screwdriver for woodworking
| Task | Electric screwdriver | Drill | Manual screwdriver |
|---|---|---|---|
| Driving many wood screws | Yes, low torque, slow speed | Yes, but easy to over-drive | Yes, slow and tiring |
| Screws near the edge | Yes, with a pilot hole | Risky, too powerful | Yes, most control |
| Hardwood screws | Yes, with a pilot hole | Yes, with a pilot hole | Yes, for final turn |
| Drilling pilot holes | No, use a drill | Yes, the right tool | No |
| Final tightening | Yes, low torque | No, too strong | Yes, best feel |
| Large screws and bolts | No, not enough power | Yes, better choice | No, too slow |
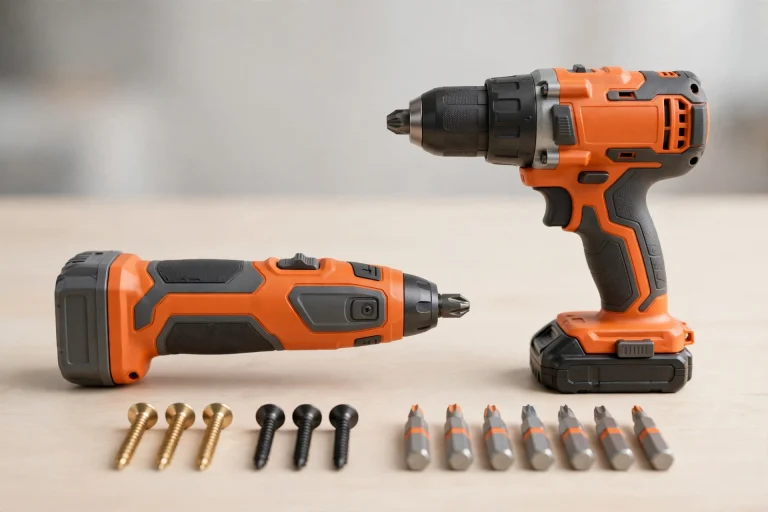
A sensible order is to use a drill for pilot holes, an electric screwdriver for driving most screws, and a manual screwdriver for the final turn. For a full comparison of the two powered tools, see our guide on electric screwdriver vs drill.
Frequently asked questions
Can I use an electric screwdriver for woodworking?
Yes, if it has a low, adjustable torque setting and variable speed. Use the lowest torque to start, drill pilot holes in hardwood and near edges, hold the tool straight, and stop as soon as the screw is flush.
What torque setting should I use for wood?
Start at the lowest setting and increase it only if a screw stops before it is flush. Use the lowest setting for softwood and MDF, and a low to medium setting for hardwood, after drilling a pilot hole.
Do I need to drill pilot holes in wood?
Yes, in hardwood, in MDF, near the edge or the end of a board, and for long screws. A pilot hole stops the wood splitting, helps the screw go in straight, and reduces the force the tool needs.
Why does wood split when I drive a screw?
The most common causes are driving a screw too close to the edge, skipping the pilot hole in hardwood or MDF, using too high a torque setting. Keep screws away from the edge, drill a pilot hole, and use low torque.
What is the best screw for woodworking?
A wood screw with a sharp point, a coarse thread, and a head that matches your bit is the best choice for most projects. For softwood, a standard wood screw is fine.
Can I use an electric screwdriver instead of a drill for woodwork?
For driving screws, yes, in most home workshop jobs. For drilling holes, including pilot holes, no. An electric screwdriver is made for driving screws with control.
Conclusion
An electric screwdriver for woodworking is a useful tool when it is used with control and patience. A low-torque tool, a pilot hole where the wood needs one, the right bit, and a straight, slow drive will give you clean, strong joints in softwood, hardwood, plywood, and MDF. A powerful tool used carelessly will split the wood, strip the screw, and ruin a project in seconds.
The habits are simple: mark and clamp the work, drill pilot holes where needed, choose the right screw and bit, set the torque low, start slowly, and stop when the screw is flush. For the basic steps, read our guide on how to use an electric screwdriver.